Creating Your First Project
Projects are isolated environments where you manage your database, authentication, and storage. Let's create your first project.
3.1 Access Project Creation
From the dashboard, click the "Create New Project" button or navigate to the Projects section.
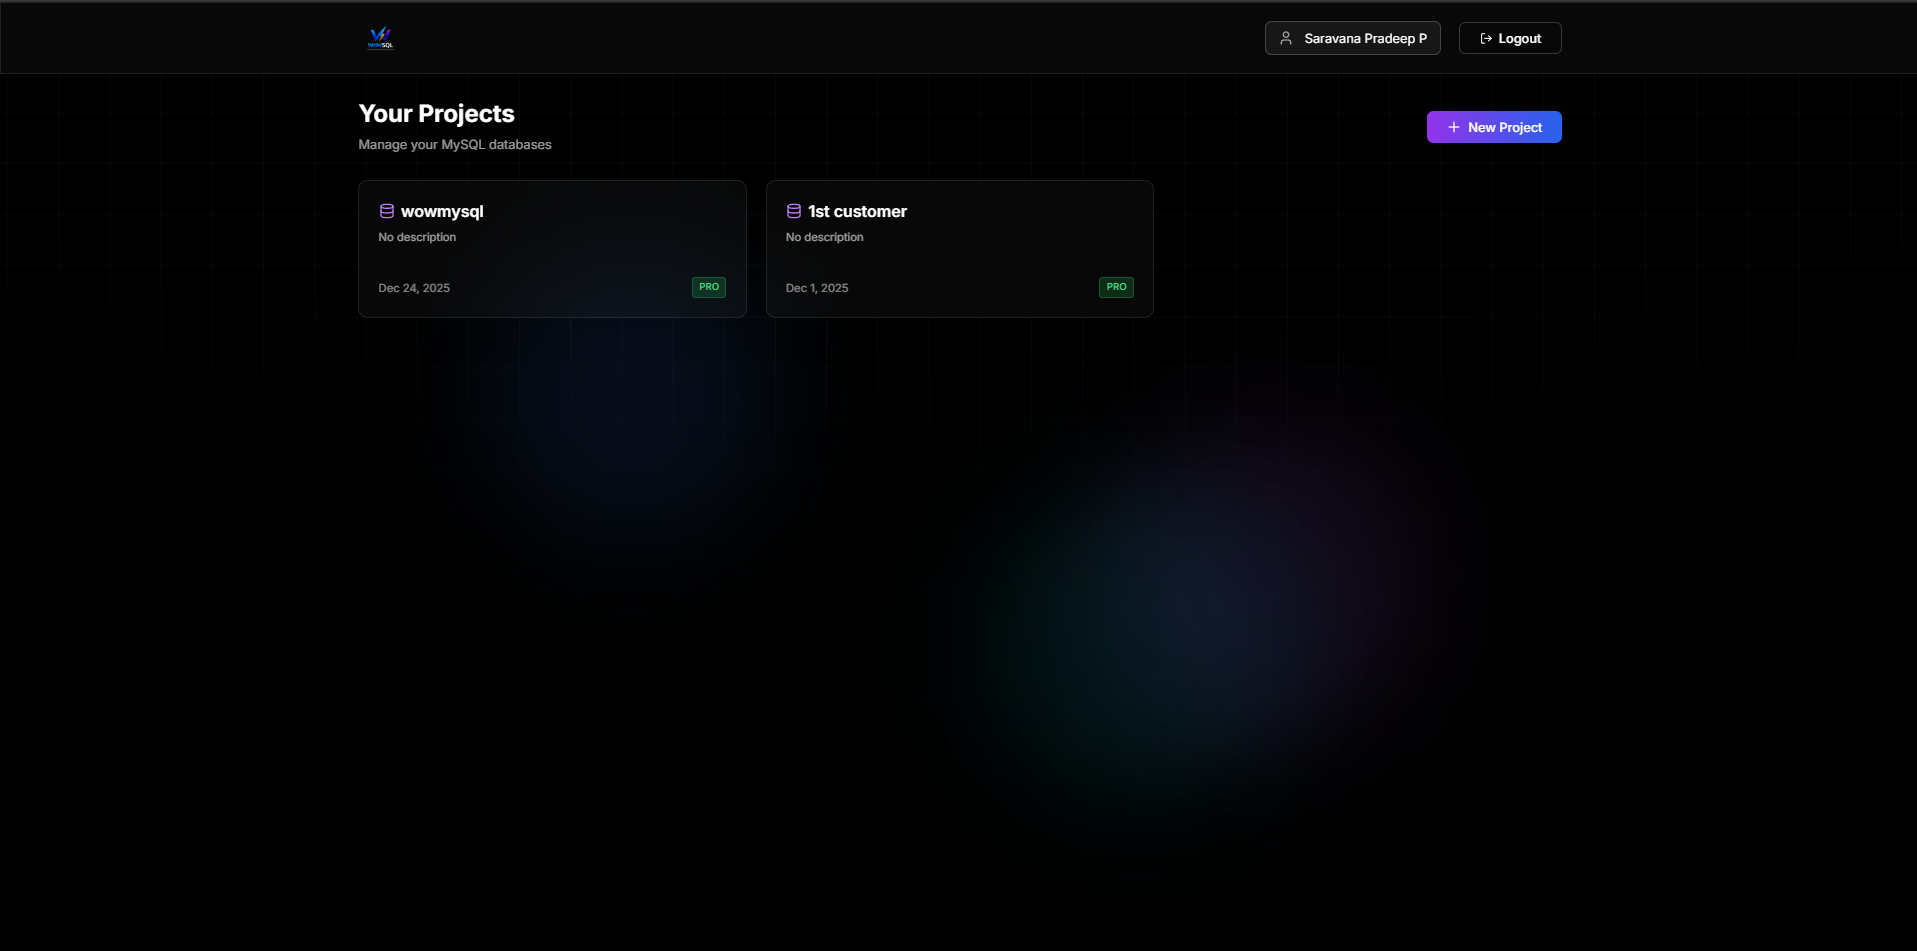
Figure 3.1: Dashboard Overview
3.2 Project Creation Form
Fill in the project creation form with the following information:
- Project Name - A descriptive name for your project
- Project Slug - A unique identifier (auto-generated from name, can be customized)
- Description - Optional description of your project
- Region - Choose the closest region to your users
- Deployment Type - Shared (development) or Dedicated RDS (production)
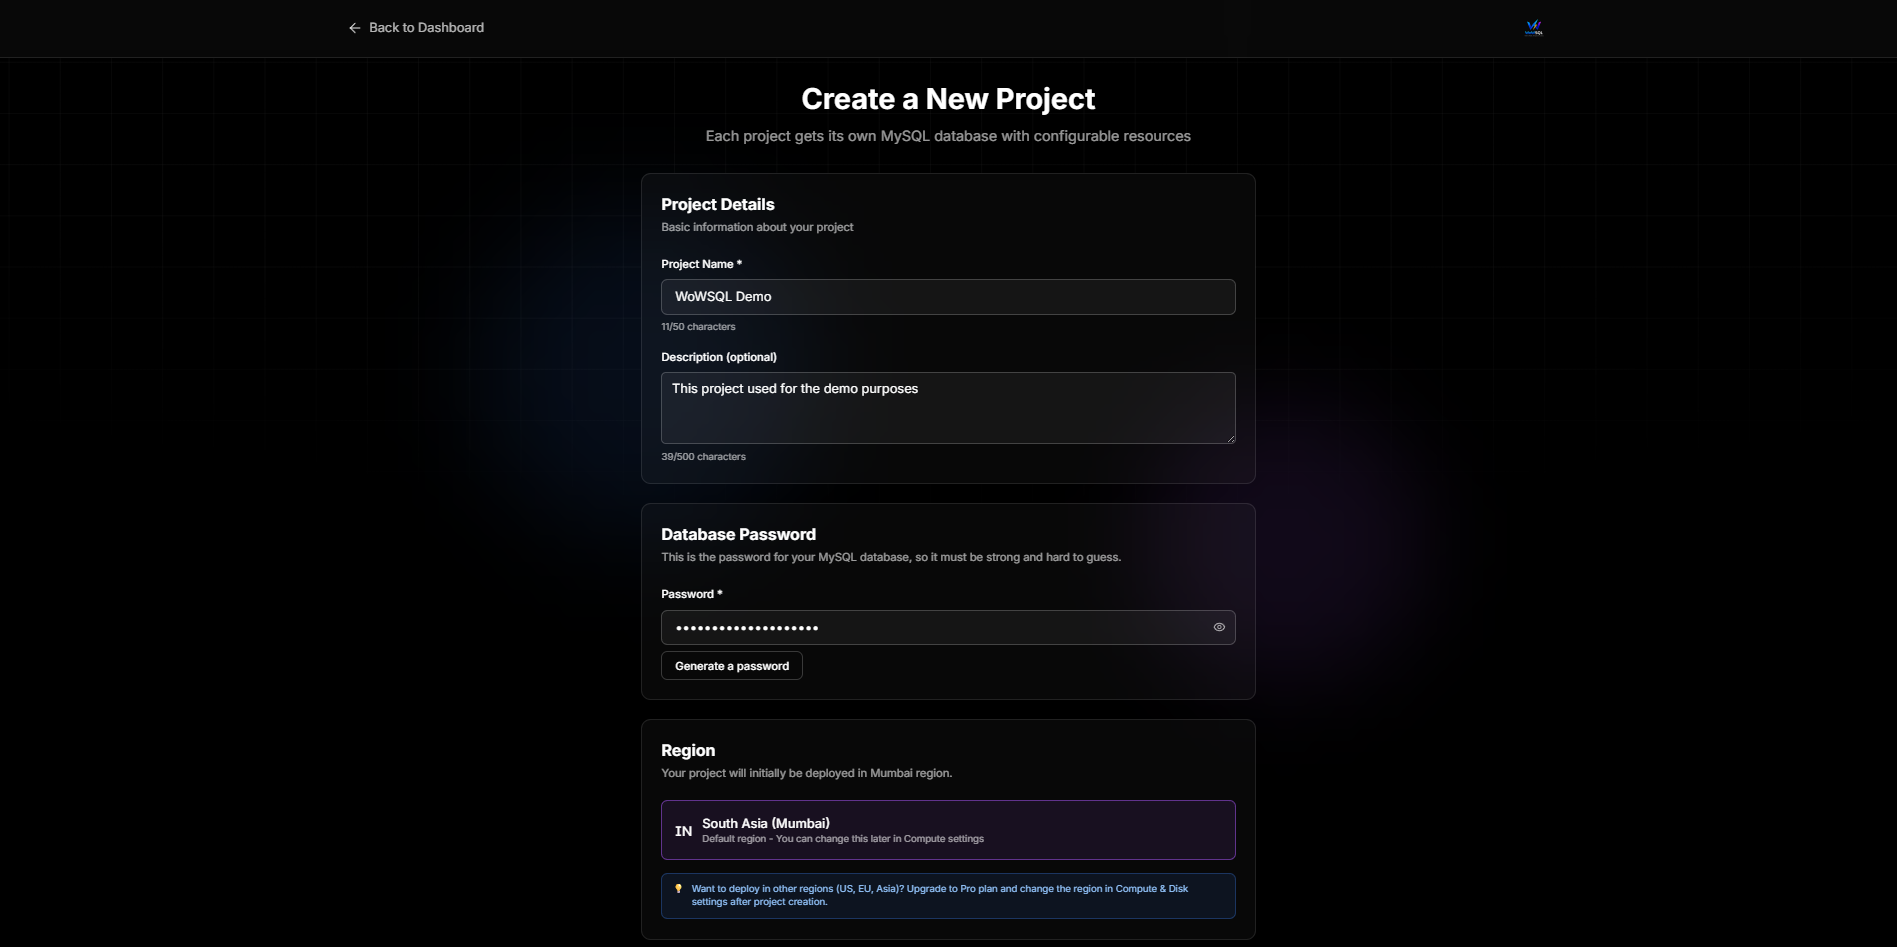
Figure 3.2: Create Project Form
3.3 Region Selection
Select the region closest to your users for optimal performance:
- US East (N. Virginia)
- US West (Oregon)
- EU (Ireland)
- Asia Pacific (Singapore)
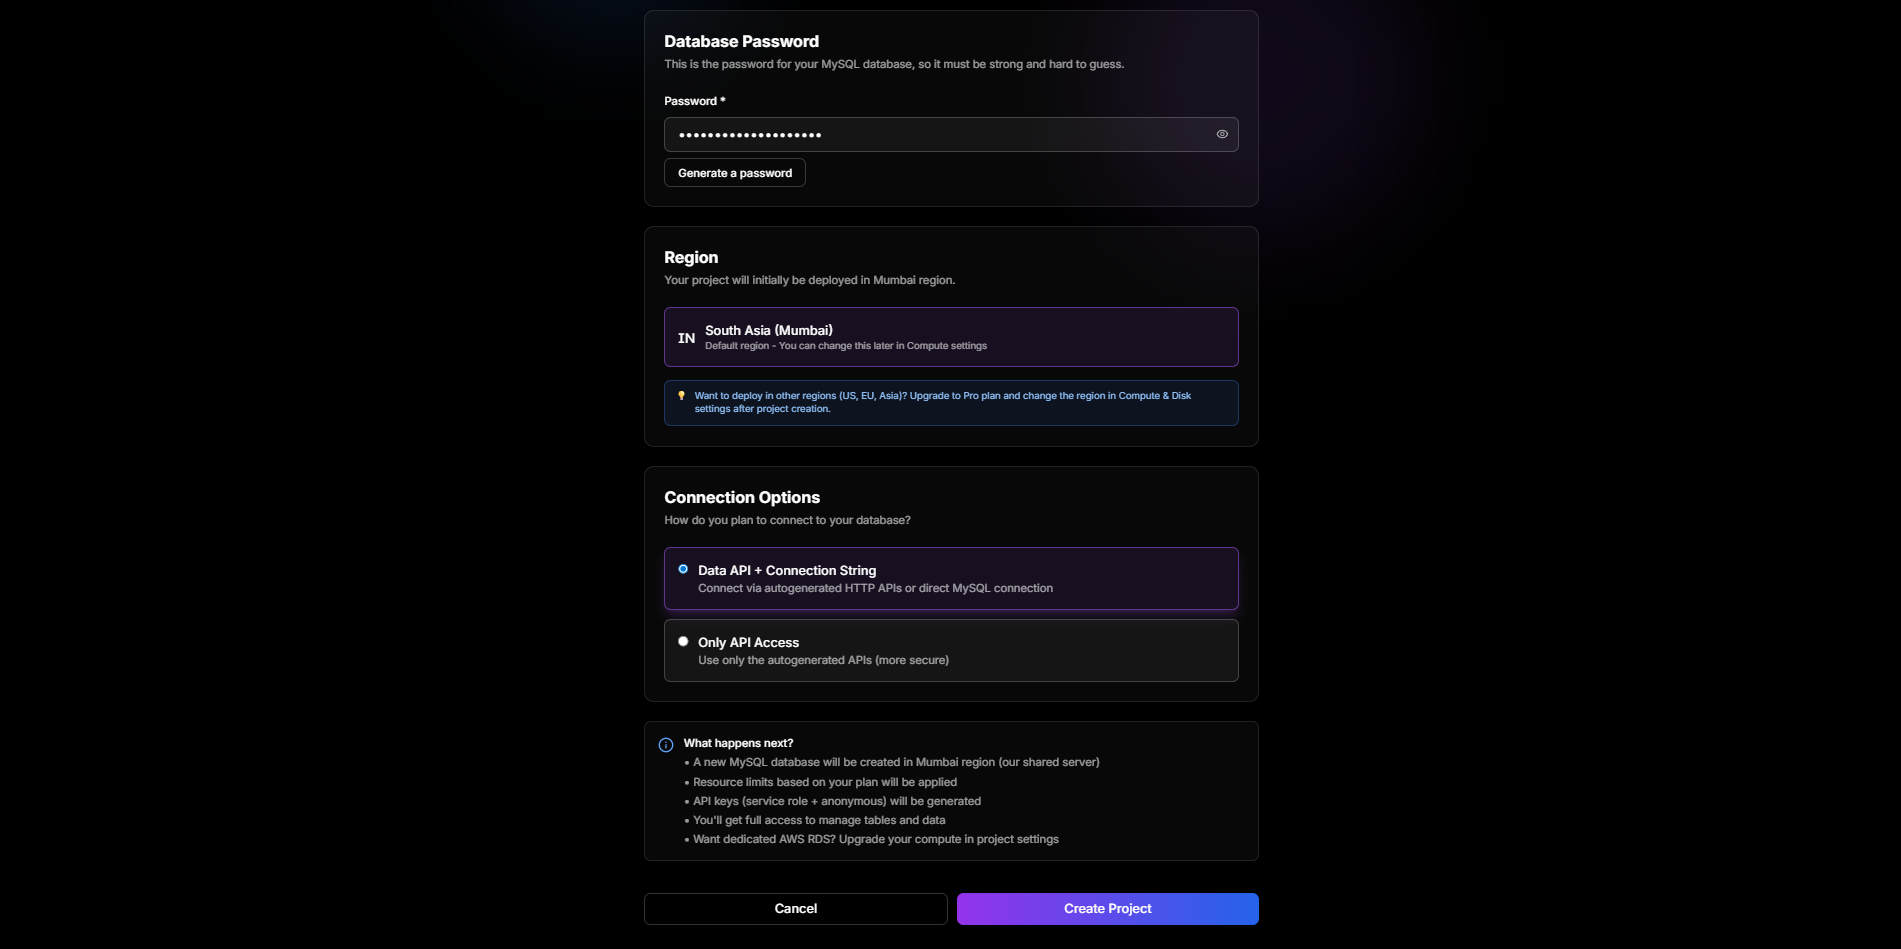
Figure 3.3: Region Selection
3.4 Deployment Type
Choose your deployment type:
- Shared - Perfect for development and small apps (free tier available)
- Dedicated RDS - Production-grade AWS RDS instance (paid)You can modify later in the project settings

Figure 3.4: Deployment Type Selection
3.5 Project Created
After clicking "Create Project", your project will be provisioned. This may take a few moments.
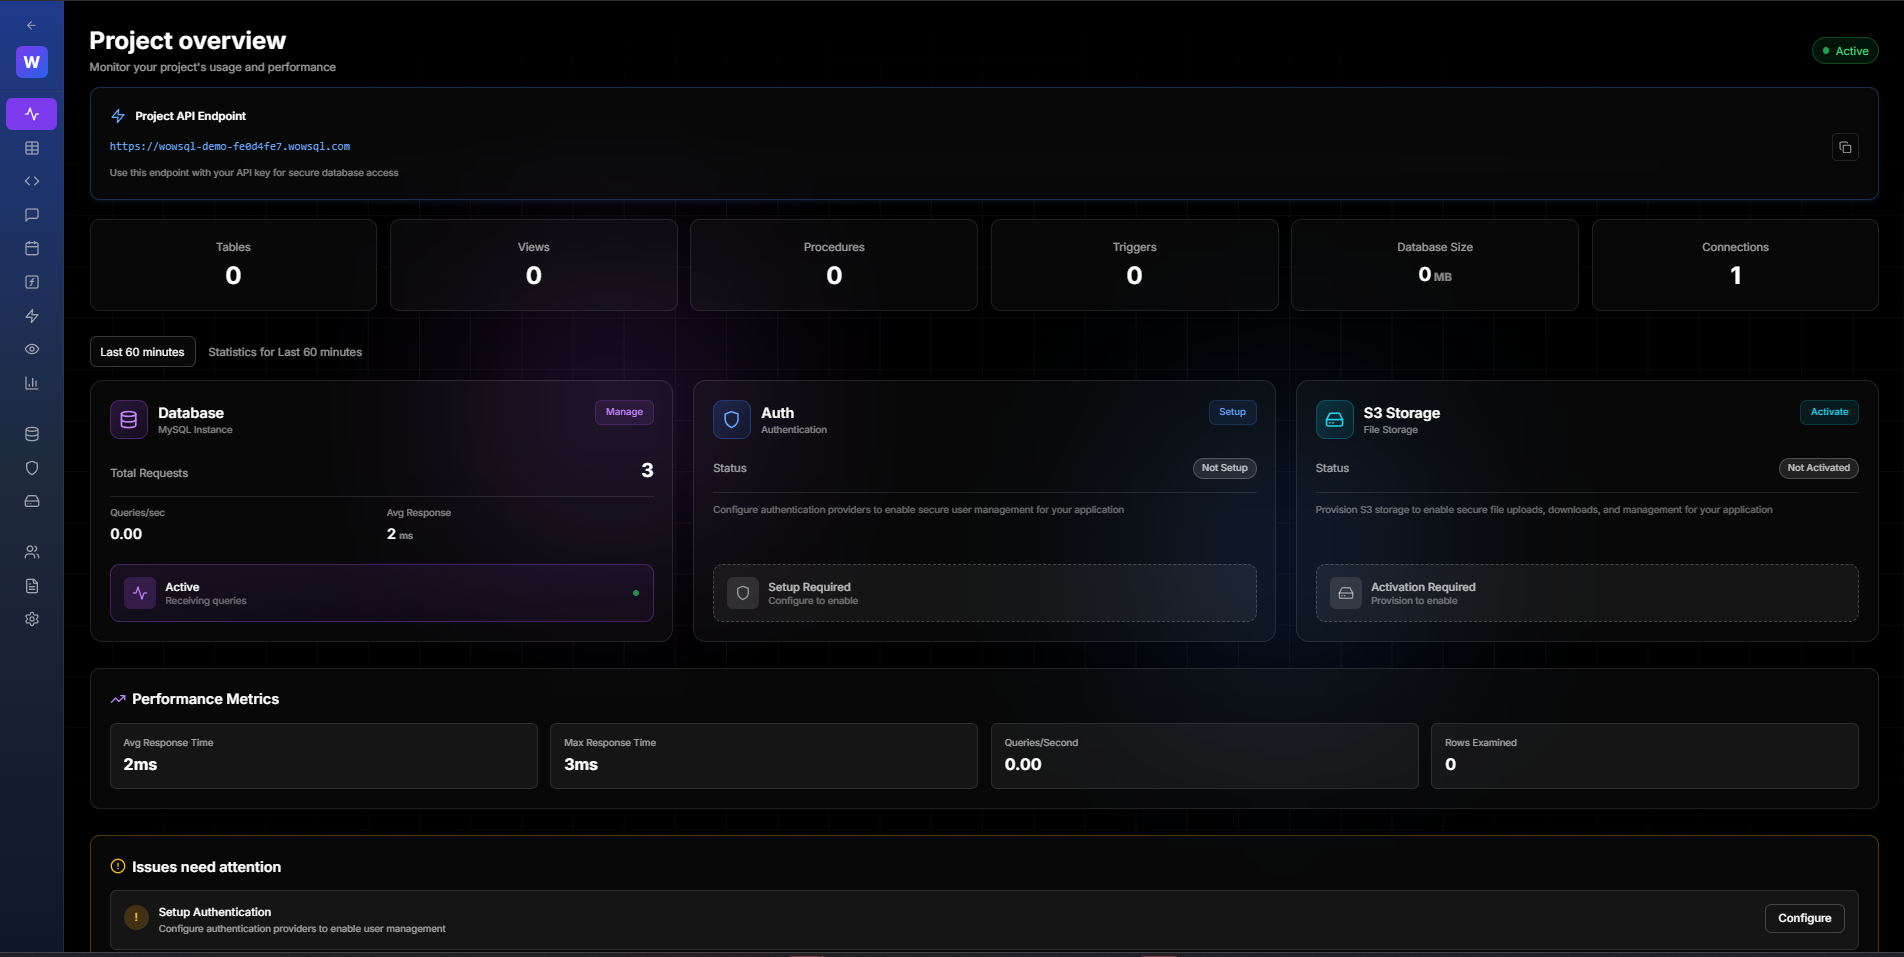
Figure 3.5: Project Being Created
3.6 Project Ready
Once provisioning is complete, you'll see your project dashboard with all available features.

Figure 3.6: Project Successfully Created
",3,1,0,0,1,"2026-01-28 20:37:36","2026-01-28 20:39:32